Painting a kayak gives an old or faded hull a fresh appearance and adds a layer of protection against UV damage and abrasion. Whether you are refreshing a used kayak, repainting after repairs, or customising the colour, the process is straightforward with the right preparation and materials.
This guide covers what paint to use, what you need, and how to paint a kayak correctly in 11 steps.
What Paint To Use on a Kayak
The right paint depends on your kayak’s hull material.
Marine-grade polyurethane paint is the best choice for fibreglass and composite kayaks. It is durable, UV-resistant, and provides a glossy finish. One-part marine polyurethane is the most practical option for DIY painting — it applies easily with a brush, roller, or spray gun and cures to a hard, long-lasting finish.
Water-based paint is a suitable and more environmentally friendly option for fibreglass and composite hulls. It provides good UV resistance, remains flexible over time, and is easier to clean up than oil-based alternatives.
Oil-based paint provides good initial abrasion resistance but can become brittle over time and is more prone to cracking and UV fading than water-based alternatives. It is generally not the preferred choice for kayaks.
Spray paint is a practical option for a quick inexpensive paint job. Use spray paint specifically formulated for marine or outdoor use. Spray application is faster than brush painting and produces a more even finish on large curved surfaces.
Polyethylene kayaks present a challenge as most paints do not adhere well to polyethylene plastic. A specialty plastic adhesion promoter applied before painting significantly improves adhesion. Consult the paint manufacturer’s instructions before attempting to paint a polyethylene kayak.
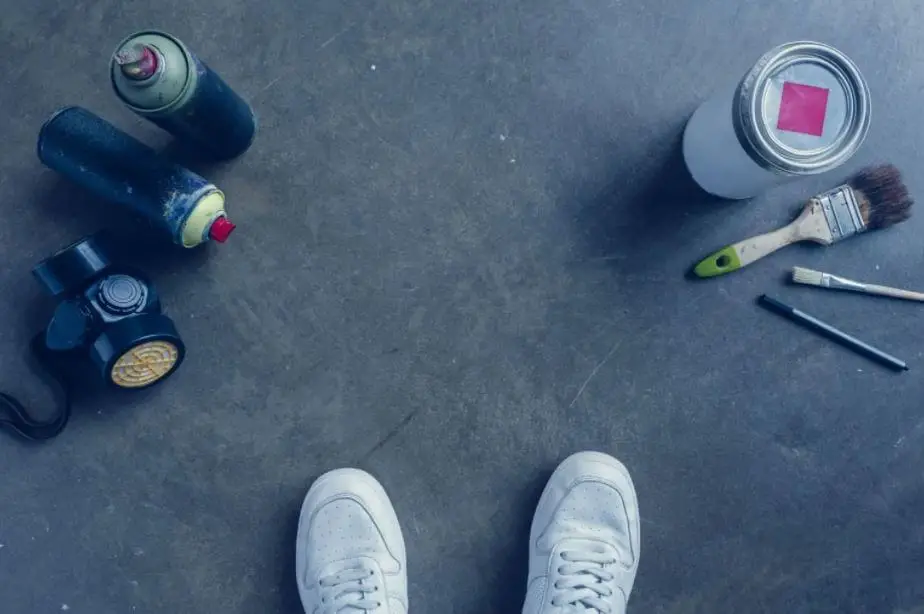
What You Need To Paint a Kayak
- Protective gloves — protect your hands from paint and acetone
- Marine-grade paint — water-based, one-part polyurethane is recommended for most kayaks
- Assorted grit sandpaper — 120-180 grit for sanding, 220 grit for finishing
- Acetone or surface prep solvent — for cleaning the hull before painting
- Multi-surface cleaner / boat wash — for the initial clean down
- Paint face mask / respirator — essential when spraying or working with acetone
- Paint rollers, paintbrushes or spray gun — depending on your preferred application method
- Matte or gloss finish spray — for the final protective coat
- Boat/marine wax — for protecting the finished paint job
- Cotton rags and microfibre cloths — for applying acetone and wiping down surfaces
- Painter’s tape and newspaper — for masking off areas you don’t want painted
How To Paint a Kayak: Step by Step
Step 1: Move to a Well-Ventilated Area
Paint a kayak outdoors or in a well-ventilated garage. Solvent-based paints and acetone produce fumes that require good airflow. If painting indoors, open all windows and doors and wear a proper paint face mask throughout.
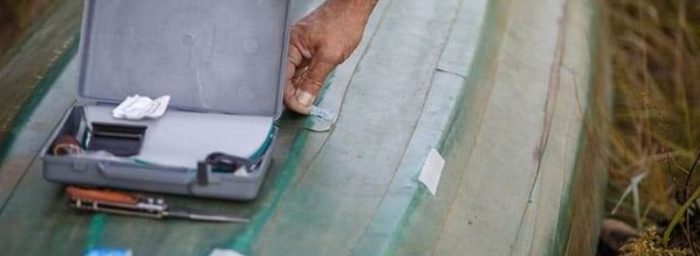
Step 2: Remove All Accessories
Remove all fittings, accessories, and seats from the kayak before painting. This includes rod holders, foot braces, mounting brackets, and any hardware attached to the hull. Painting around fittings produces an uneven result and makes reassembly difficult.
Step 3: Clean the Hull
Wash the hull thoroughly with boat wash or mild soap and water. Remove all salt, dirt, grease, and grime from the entire surface. Rinse with fresh water and allow to dry completely before proceeding.
Step 4: Sand the Hull
Sand the entire surface to be painted with 120-grit sandpaper to remove any remaining contaminants, old decals, and loose paint, and to create a surface that the new paint can bond to. Follow with 220-grit sandpaper for a smoother finish. Wipe away all sanding dust with a clean dry cloth.
Step 5: Clean With Acetone
Wipe the entire sanded surface with acetone or a dedicated surface prep solvent using a clean cotton rag. This removes any remaining oil, grease, and residue that could prevent the paint from adhering properly. Allow to dry completely.
Step 6: Mask Off Areas You Are Not Painting
Apply painter’s tape and newspaper to any areas you do not want painted — cockpit rim, hatches, hardware mounting points, and any sections of the deck that are a different colour. Press the tape down firmly at the edges to prevent paint bleeding underneath.
Step 7: Apply the First Coat
Put on your gloves and face mask before painting. Apply the first coat of paint in thin, even strokes across the hull surface. Thin coats dry more evenly and produce a better finish than thick ones. Allow the first coat to dry fully according to the manufacturer’s recommended drying time before applying subsequent coats.
Step 8: Apply Additional Coats
Apply a second coat once the first is fully dry. Two to three thin coats produce a more durable and even finish than a single thick coat. Allow each coat to dry fully before applying the next.
For a very smooth finish, lightly sand between coats with 400-grit sandpaper and wipe away the dust before applying the next coat.
Step 9: Apply a Finishing Coat
Apply a final clear finishing coat or top coat if required by your paint system. This provides additional protection against scratches, UV damage, and weathering and increases the paint’s overall lifespan.
Step 10: Allow the Paint To Cure Fully
Paint may feel dry to the touch before it has fully cured. Allow the painted hull to cure for the full period recommended by the manufacturer before getting it wet or rigging it back up. Rushing this step can result in the paint lifting or chipping prematurely.
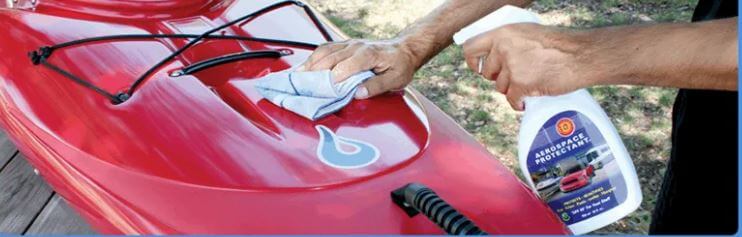
Step 11: Wax and Apply UV Protectant
Once the paint has cured fully, apply a coat of boat wax or UV protectant spray to the finished surface. This adds a final layer of protection and maintains the finish over time.
Read: How To Wax a Kayak
Final Thoughts
Painting a kayak is a straightforward DIY project with the right preparation. The most important steps are cleaning and sanding the hull thoroughly before painting and applying multiple thin coats rather than a single thick one. Allow each coat to dry fully before applying the next, and allow the final coat to cure completely before use.
For more on kayak maintenance, read our guides on how to wax a kayak and how to keep your kayak in good shape.